
How To Etch Glass:
Preparing the Glass and Placing the Stencil
(Click on photo for larger view)
|
How To Etch Glass:Preparing the Glass and Placing the Stencil(Click on photo for larger view) |
|
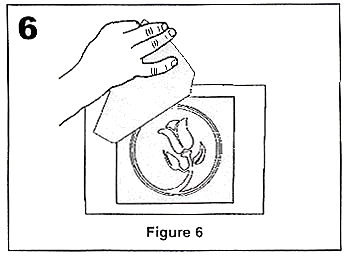
2: Preparing the Glass and Placing the Stencil
Start by washing the glass with window cleaner. Be sure it is completely dry and lint-free before placing the stencil. |
 |
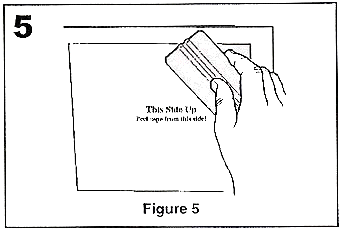
With the stencil label-side up, carefully remove the backing paper. This exposes the adhesive. |
Carefully apply your stencil with the adhesive side to the glass. Burnish the stencil to the glass using a squeegee. SINGLE USE ONLY -- THEY ARE NOT REUSABLE! If you are etching a number of pieces in the same pattern, you must order a stencil for each piece. |
 |
 |
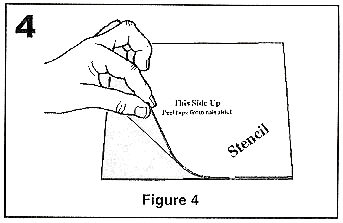
Slowly and carefully peel off the top layer, making sure all pieces of the stencil remain on the glass. |
Is your stencil now securely anchored to the glass? You're ready to Begin Etching! |
![]() In Place, Vertical, and Large Project
Etching
In Place, Vertical, and Large Project
Etching ![]() Custom Designs
Custom Designs ![]()
![]() Custom Stencils for Glassware
Custom Stencils for Glassware ![]() What types of
glassware can I etch?
What types of
glassware can I etch? ![]()